Much to our surprise, yes!
For years and years we had no luck at all with pre-coating paper. When we tried the resulting images had been half-strength or the paper exposed itself inside the dark bag. Then quite unexpectedly we had a happy accident.
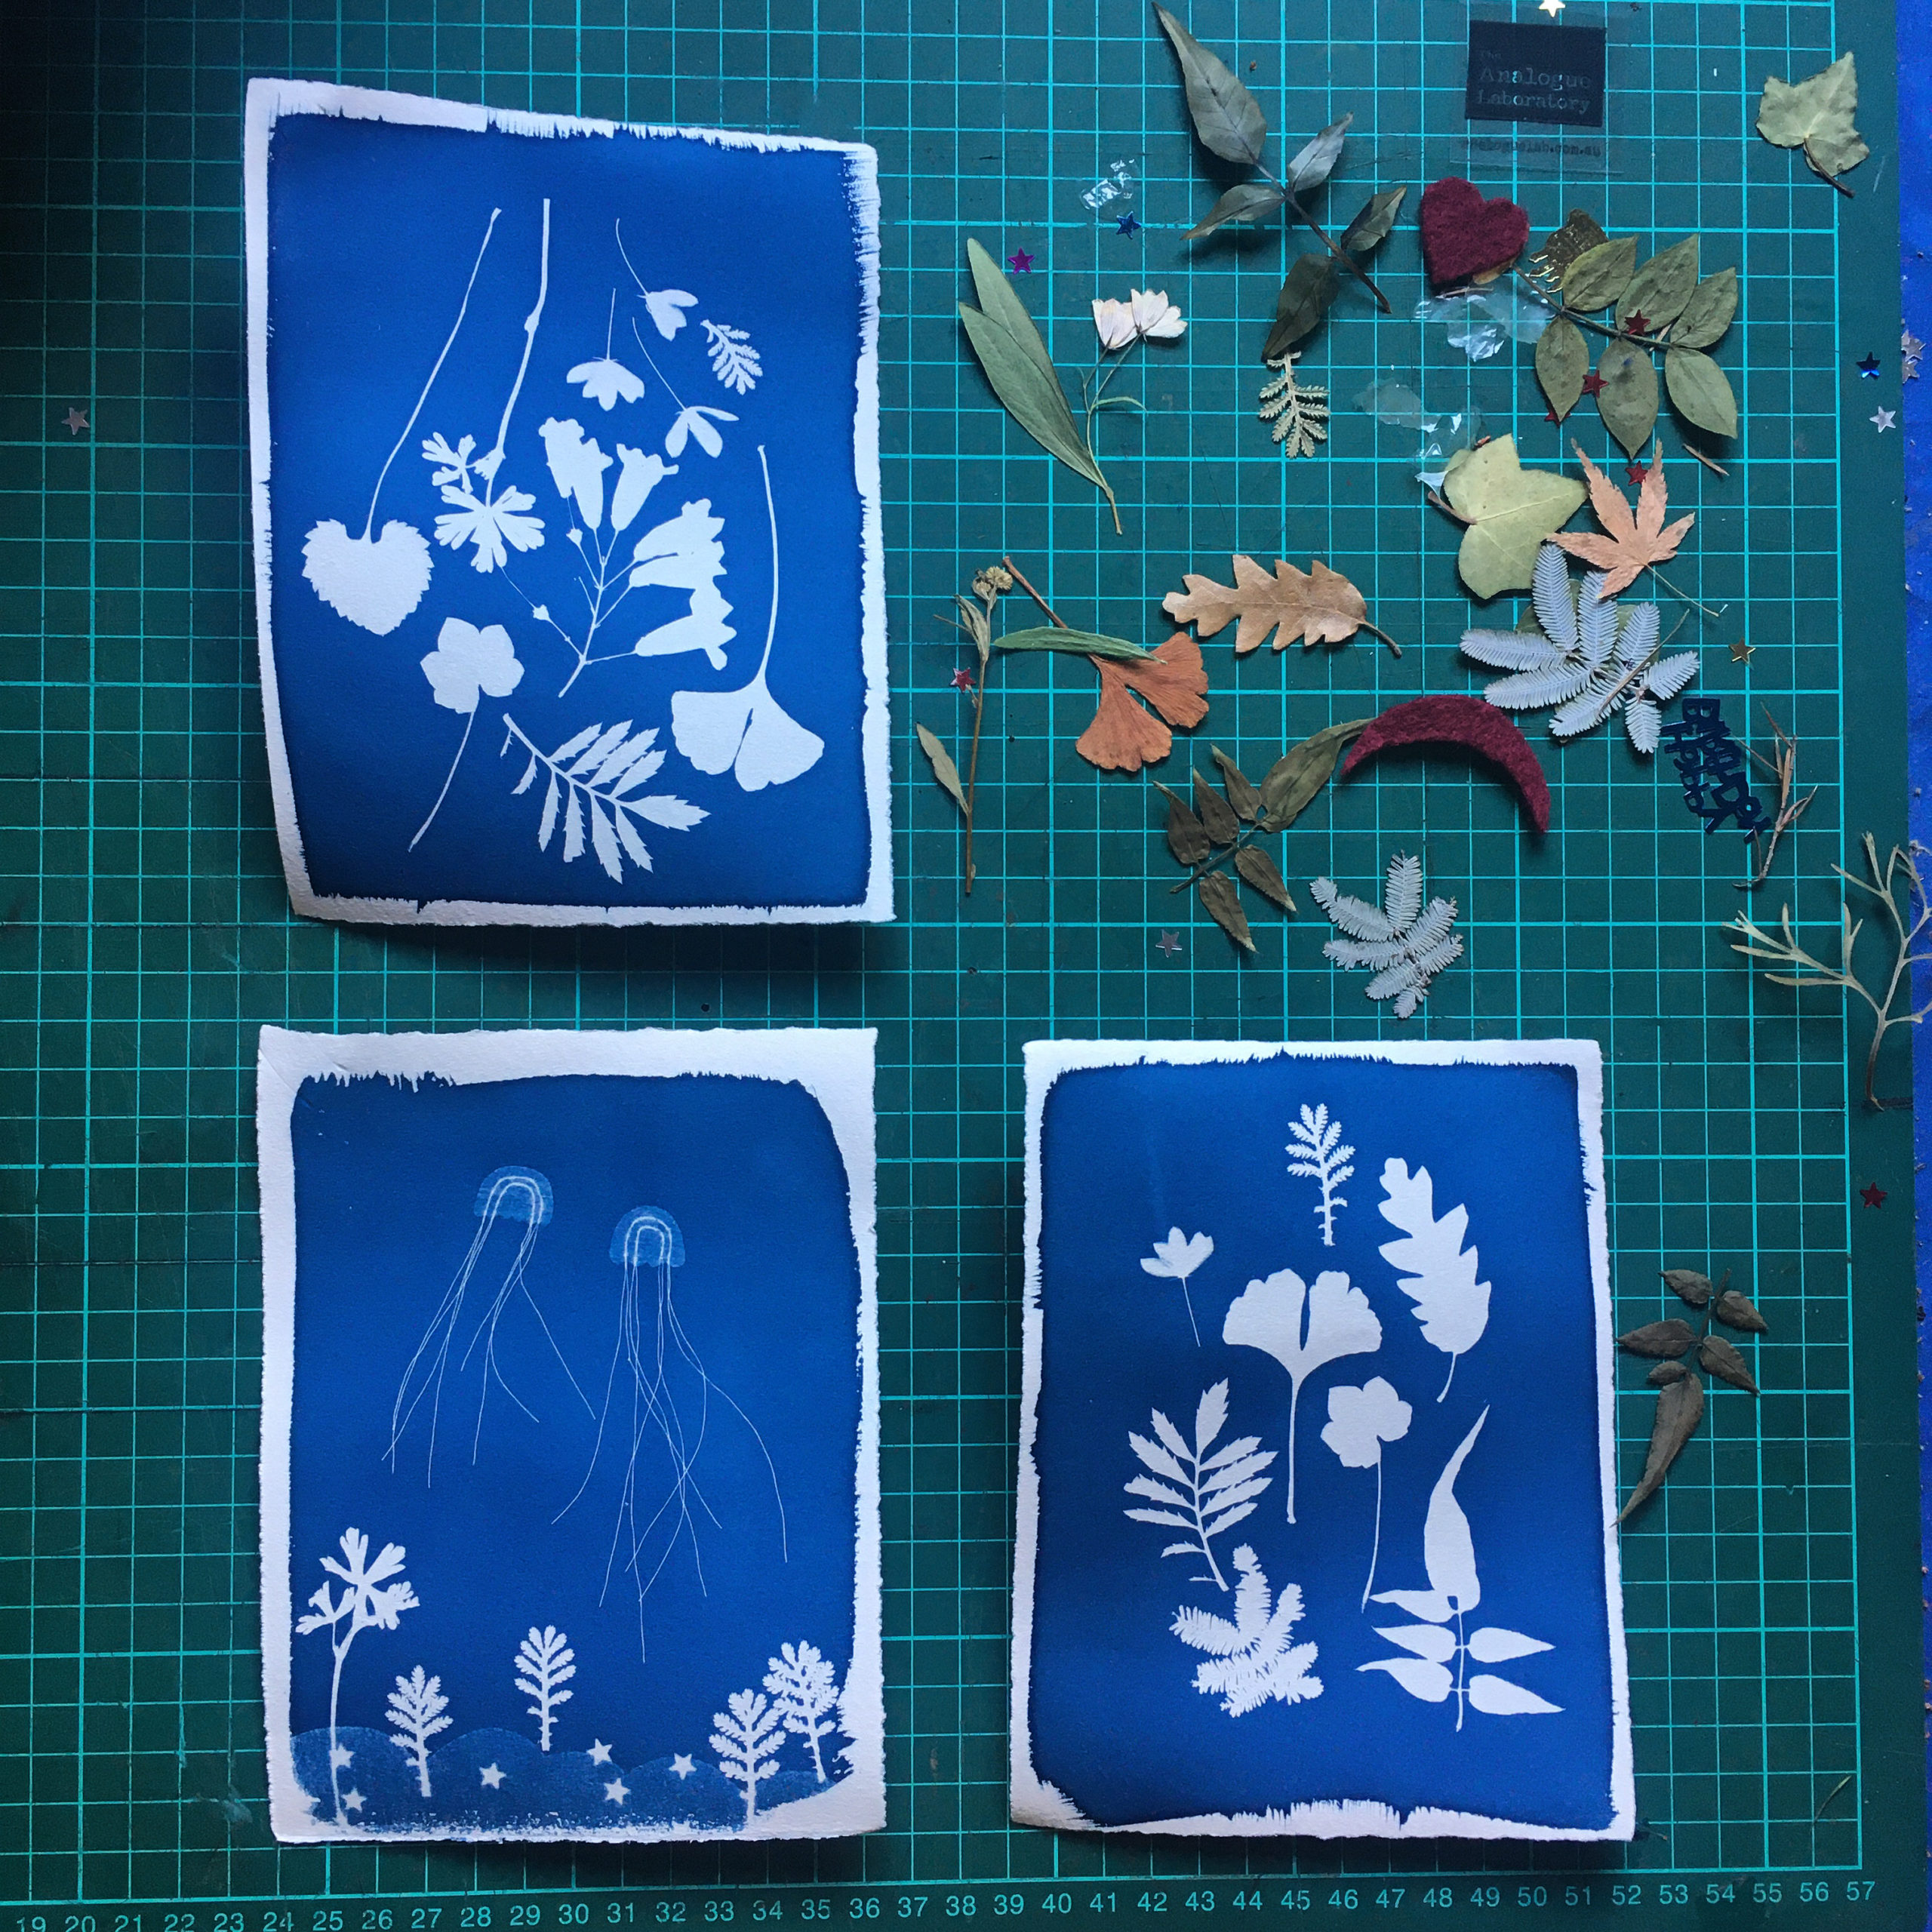
For most occasions there is really no advantage to having paper pre-prepared. When I’m making cyanotype prints I often like to coat the paper in a particular shape that works with the subject. Wet process photography is largely all about squares and rectangles – this is one of those occasions where it doesn’t have to be and I like to embrace the heck out of that. However if you’re planning a workshop with young children or want to take some cyanotype on your next camping adventure then having some pre-prepared paper is absolutely the way to go.
What I am about to say is based on my experience. It’s a not a guarantee – you’ll have to experiment and find out if it will work for you. I have the benefit(?) of living in one of the most arid climates in the world, and the lack of moisture in the air is probably a big help in preserving the light sensitivity of the paper. Our cyanotype solution is made using reagent grade chemistry (ie: extremely pure) and demineralised water – this gives us the best opportunity for success.
This is the story.
Over 12 months ago we were asked to run a weekend-long family-friendly workshop for kids of all ages, and to expect a turnout of 200 or so children over the course of the two days. Our host requested that we arrive with 400 or so sheets of cyanotype paper ready to be exposed. Our experience up until that point was that if you pre-coated as soon as possible to the event then things would turn out ok, so there was one very long night in the darkroom the day before the workshop. We elected to use a lighter weight printmaking paper to keep the wash-time down as the washing water would have to be schlepped over to our stand in a little trolley throughout the day. Our paper of preference for cyanotype is Somerset Satin, so we used the 175gsm weight over our usual 250 or 300gsm. This turned out to be A Very Good Idea.
Because of the light weight of the 175gsm paper we didn’t need to use much solution at all to get a nice even coat (each piece hand coated by brush). We dried all of the pieces to bone dry with a hairdryer on low, and left them overnight in the darkroom to dry even more. Again, the thickness of the paper meant we could get each sheet nice and dry all the way through. In the morning we gathered all the sheets into black plastic bags we had saved from packets of B&W darkroom printing paper.
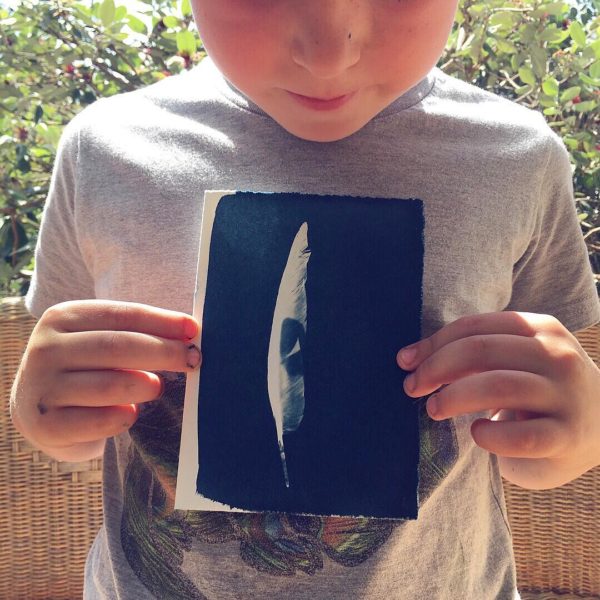
The event turned out to have a lot less visitors than anticipated – courtesy of a brutally hot weekend. We tried our best to make as many prints as possible for the kids who braved the heatwave to come along, but we still had a big pile left over at the end of the day. We bundled up and forgot about it for 6 months or so. Upon rediscovering the bundle of paper I decided to have a little try, just in case it hadn’t all self-exposed in the bag. To my EXTREME surprise the prints were just as good as if I’d coated the paper moments before!! There was still a lot left over so it sat in the bag for another 6 months… and I had another little go. Still just as good, 12 months later! Incredible.
It’s now 15 months later and I’m still making great prints with the paper we coated back in November 2018. I attribute this to several factors:
- high quality printmaking paper with a neutral ph
- high quality cyanotype solution
- medium weight 175gsm paper
- getting each piece of paper bone dry before storage, and keeping it dry during storage
- storing the paper in a light-tight container.
I hope this is helpful 💙
I do have a piece of unexposed silk that’s been sitting in my drawer for about as long – probably time I had a little experiment with it, too!