
Since I started playing with Silver-Gelatin Dry Glass Plates I’ve been keen to find some sort of plate holder that would fit my 4×5″ camera without a lot of fuss. Glass plates are generally 2mm thick, and of course don’t fit comfortably into a standard 4×5″ film holder. The Light Farm, that perennial goldmine of knowledge for dry-plate shooters, has a very nice guide to modifying old wooden holders, and there are some modern plate holders manufactured today that suit the purpose and look very fine, but nothing ever really hit the nail on the head for me. Wooden film holders are fairly uncommon in Australia, and original dry plate holders are even harder to come by – I’ve tried a number of different modifications for the more common plastic and metal holders, but they all left a lot to be desired.
However there seem to be an awful lot of old 4×5″ Film Pack Adapters in the world.

Pretty much every box of large format “stuff” I’ve ever gotten has had one of these in it, along with some old 4×5″ Polaroid Film Adapters. And while there’s good reason to hold onto the polaroid adapters, film packs are looonnngg dead. You can watch a video about how to load one here, for context.
Rather than keep them hanging around gathering an impressive layer of dust, we’ve come up with an easy way to modify them for shooting plates. There’s really not a whole lot to it, and all that you really need to do is making them light-tight – They’re nearly the perfect solution all on their own.
This method may also be useful for shooting wet collodion plates if you cover the exposed metal surfaces in polyurethane varnish, but you’ll need to experiment. It should be suited very well for making Daguerreotype plates, however.
Step 1
Open the adapter. You’ll see a set of springs on the right hand side that would have originally held the film pack in place nice and snug.
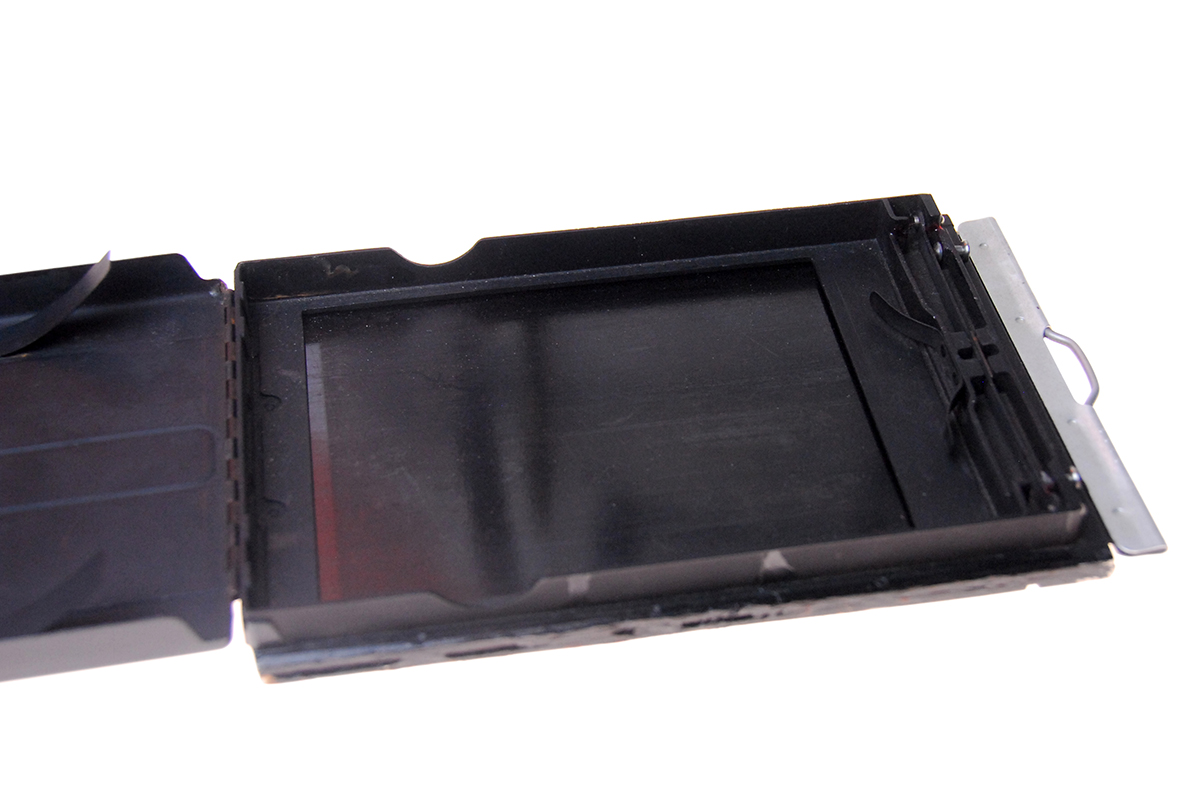
Step 2
Remove the springs on the right hand side by flexing them back and forth – they’ll snap pretty easily. Oh no! It’s broken now!
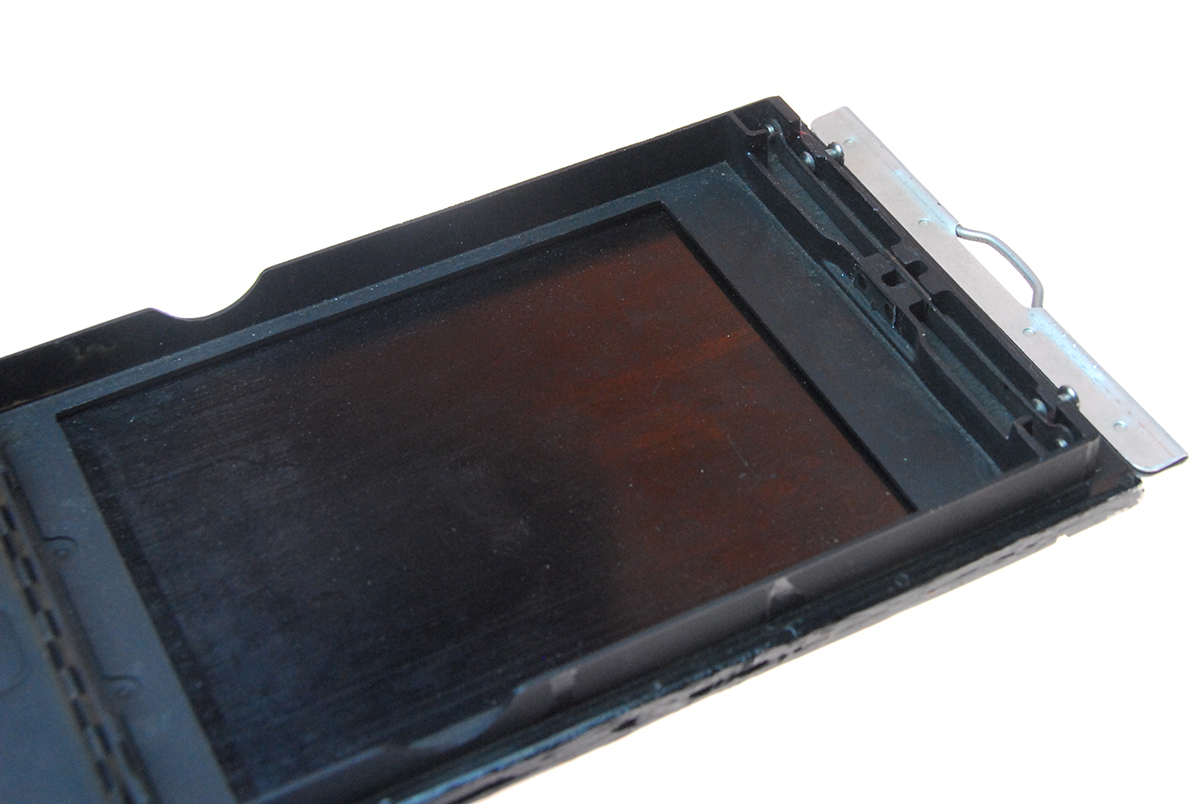
Step 3
Take a piece of timber that is 11x11mm square. Cut it to 107mm long. Take a second piece of timber 6x6mm square and cut it to 107mm long. Glue these pieces into the positions shown with PVA Glue, and paint them with a coat of matt black paint. The pieces of timber can be bought off the shelf in most hardware stores – in Australia, Bunnings has just what you want.
If you cant find these exact dimensions then any piece of timber that is 11mm tall and narrow enough to fit should be sufficient.

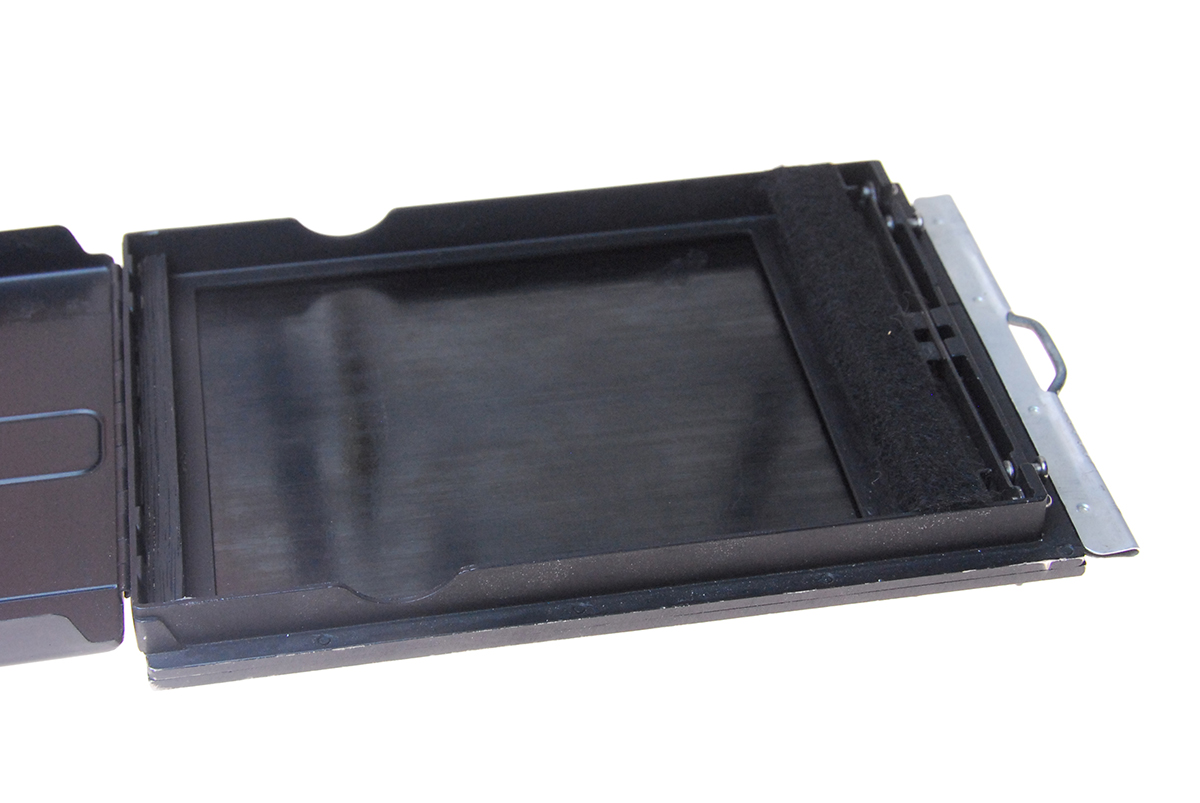
Step 4
Once the glue and paint has dried you will need to stick a narrow strip of self-adhesive black felt to the top of the larger piece of timber, and another matching piece to the inside lid of the adapter, just behind the little “clip bit”, as shown. These two pieces of self-adhesive felt form a very effective light-seal, keeping your glass plates safe from exposure. In Australia, self-adhesive felt can be purchased from Spotlight.
Depending on your model of adapter you may have one big spring or two smaller springs on the inside lid. You should bend these inwards, so that they will provide adequate pressure on the back of your glass plate to keep it in place, once it is loaded.

Conclusion
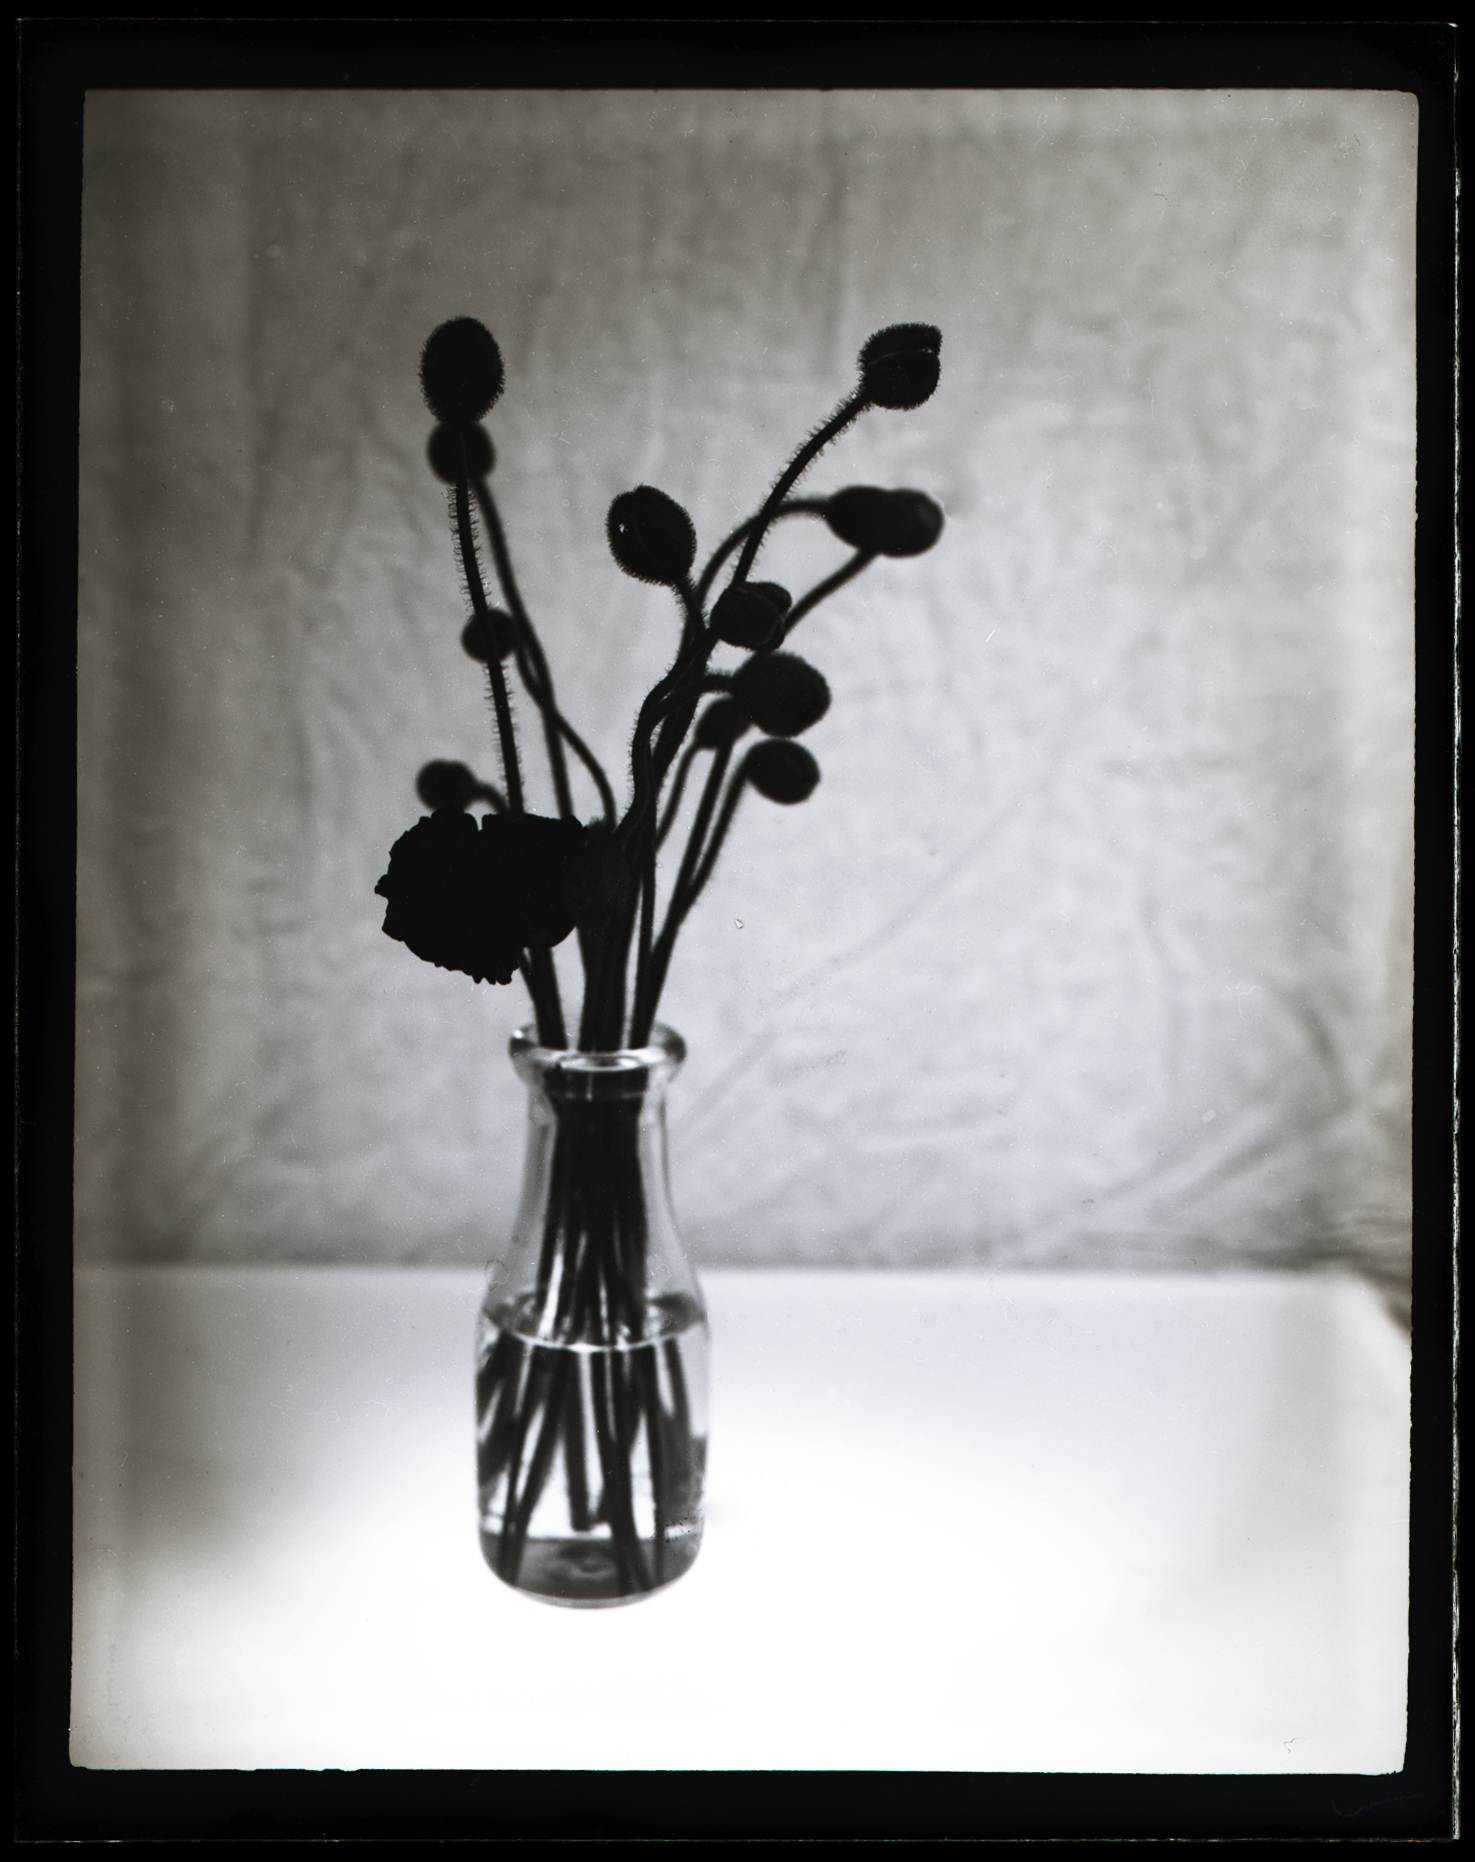
Congratulations! You now have a modified holder that will comfortably accept glass plates cut to 105 x 132mm. This is a little bit larger (wider) than 4×5″, but will give you a very nice even border around your plates.
Go forth, and make stuff!